Set Up Your First Price
This walks through pricing one option on one product, end to end. Until you publish in step 6, the pricing is a draft you can change freely. Price it does the same for a whole boat, with linked products, parts and a total in the panel.
You need a project linked to a product, with at least one control (a dropdown, radio group or similar) already in its GUI. If you do not have one yet, build that first: pricing sits on top of controls you have already made.
1. Turn pricing on
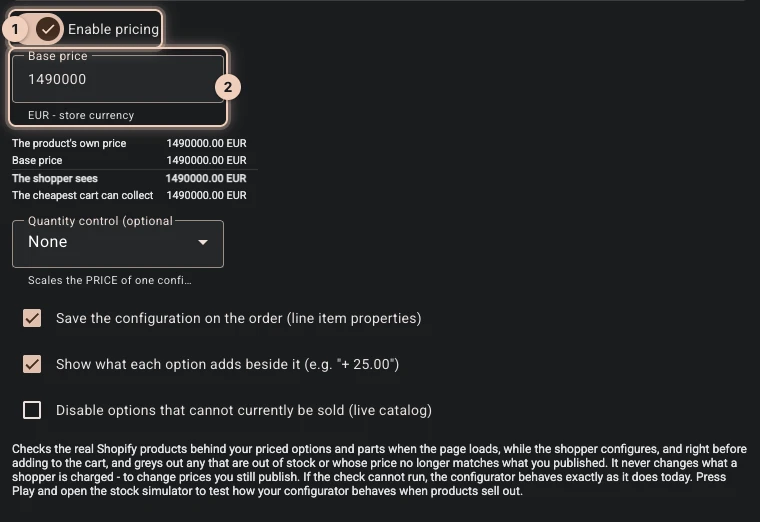
In Composer, open GUI, then Pricing, and turn on Enable pricing 1.
Nothing is charged yet. Until you publish, everything here is a draft.
2. Set a base price
Enter the amount every configuration starts from in Base price 2: the price of the plainest thing you sell. For the catamaran that is the 15 m boat, at 1490000.
With Product lines charging, Shopify charges the product the configurator sits on at its own price, so the base price is that price. Set one to match the other.
If no variant of the product costs the base price you set, publishing is refused and names the product. The project page has a button that sets the product's price in Shopify to the base price. It asks you to confirm, and the new price applies wherever that product is sold. Or change the base price in the Composer to the product's price. Variants at other prices still publish, with a warning: a shopper who picks one of them sees and pays that variant's price in place of the base price.
Change the product's price in Shopify later, and checkout follows it at once. Change the base price to match before you next publish.
Bundled parts charging replaces your product's own price: the order is charged as its parts plus one hidden Configured price line carrying the base price you typed, so your product's price in Shopify does not reach the order there.
3. Price an option
Open Controls, pick a control, then a single option inside it, and set Price +/- 1.
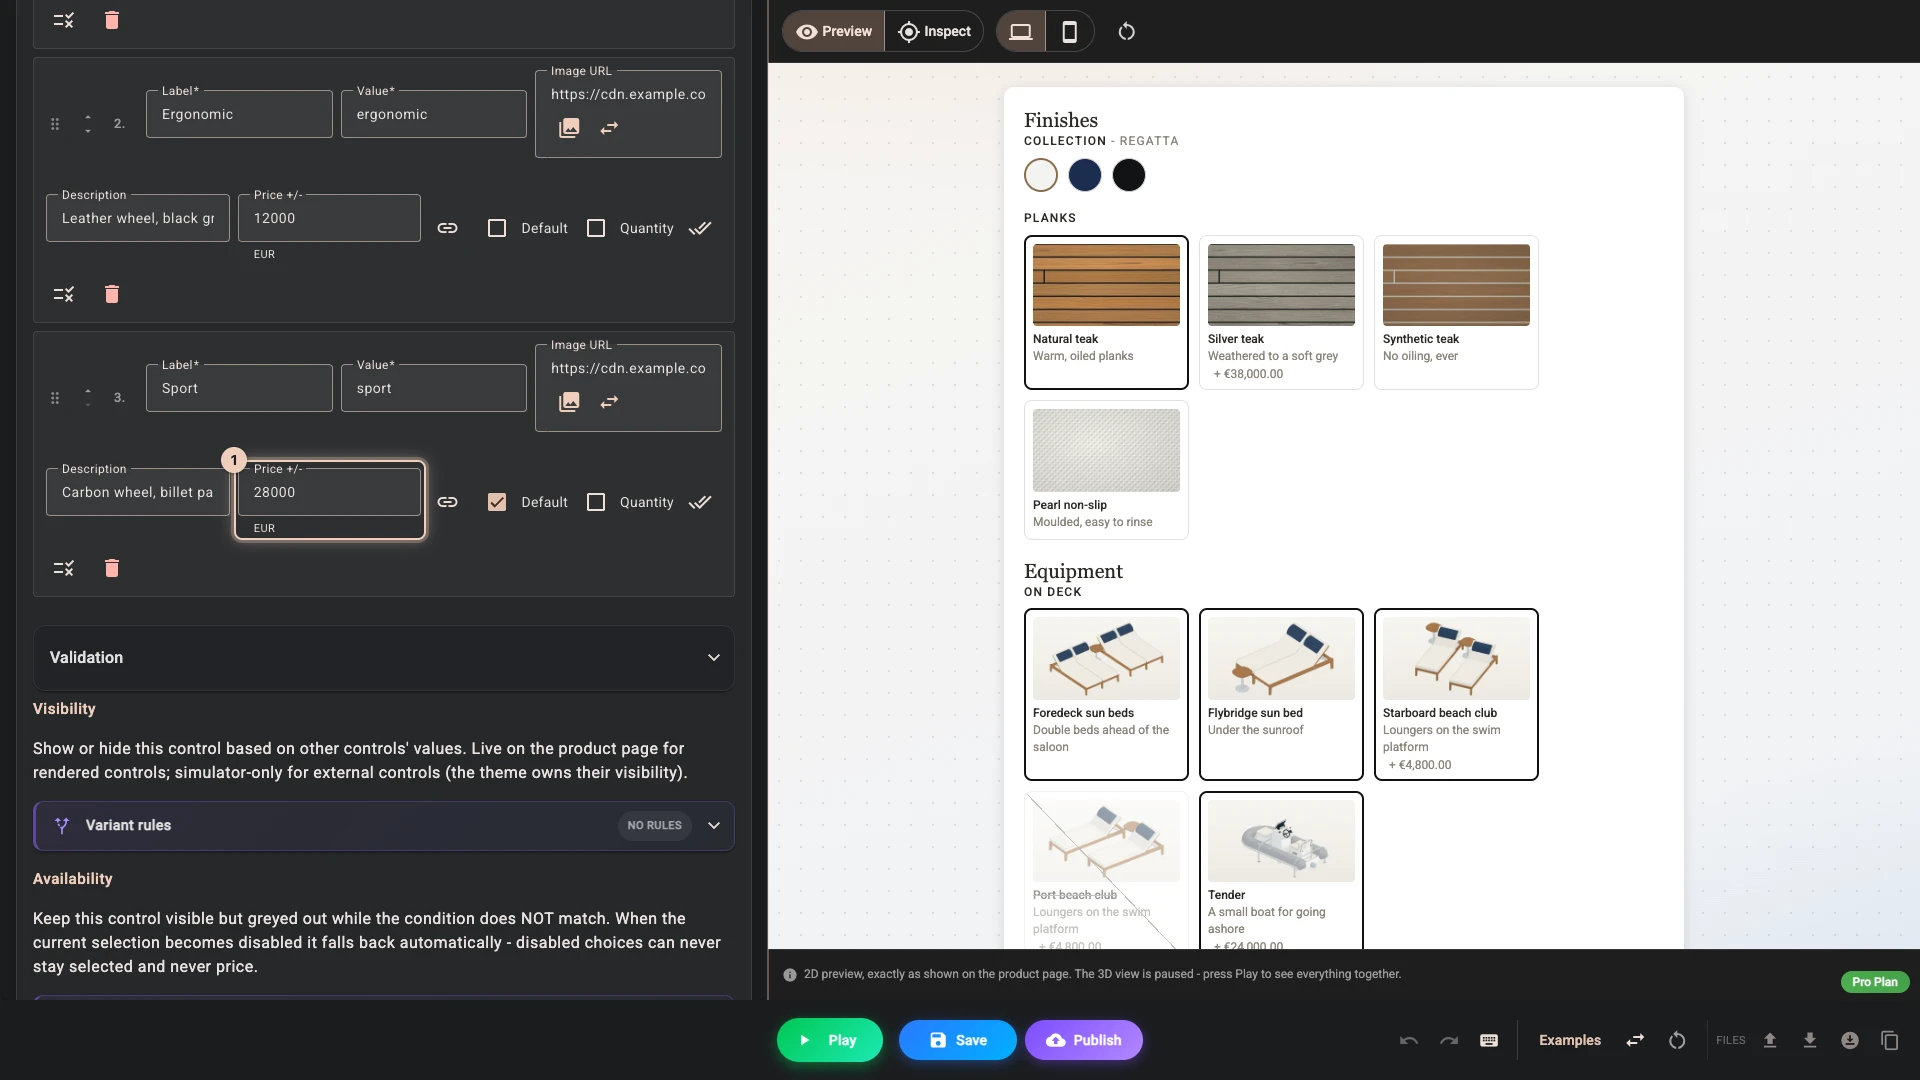
- The Helm option Sport at 28000 adds 28000 whenever Sport is chosen.
- Leave Classic empty and it adds nothing: it is the no-cost choice.
- A checkbox or switch works the same way: the amount applies while it is ticked.
- An amount can be negative, to take money off. With Product lines, publishing refuses a configuration whose total would fall below what its cart lines cost, and names the choices that do it.
Amounts are in your store's own currency. If you sell in other currencies, see Selling in more than one currency.
An option does not have to carry a typed amount. It can point at real products you already sell - see Linked products - and it can let the shopper choose how many of it they want, which turns its amount into a per-unit price.
Two other things are priced elsewhere, once you need them:
- Formulas price continuous choices such as a slider, using an expression over what the shopper entered. They are under Add formula in Pricing.
- Parts are the things the configured product is made of. A part can be a real product you ship and charge for, or simply a line on the works order that costs nothing.
4. Preview it
Press Play and change the option back and forth. To see the total, add a Price element in Layout first: the panel draws what its layout holds, and Show price breakdown shows each part that makes up the total. Add an Add to cart element there too. With Product lines, the default method, only the configurator's own button adds the product together with what its choices cost; your theme's button adds the product alone, and the cart refuses it.
This is the same renderer your shoppers get. Play shows your store's currency and the prices saved in the project. On the product page, shoppers paying in another currency see converted amounts, and with Product lines your own products show at their current Shopify price.
5. Choose how it is charged
Open the project in the 3D Bits admin. Under Storefront settings, open Pricing and charging, pick a Charging method and press Save settings. The saved method takes effect when you publish; Publish does not send a choice you have not saved. If you are unsure, leave it on Product lines: it works on every Shopify plan.
Charging methods explains the four options and when each is worth switching to.
6. Publish
Press Publish on the project page. Publishing pushes the configurator and its prices to every product linked to the project. When it would add helper products your store does not have yet, it asks you to confirm first - see What appears in your catalogue.
If something about the setup cannot be charged correctly, publishing stops and tells you why rather than going live half-configured. On a first price the message is usually one of these two:
| Message | What to do |
|---|---|
| The product has no variant priced at the base price | Set the product's price to the base price on the project page, or the base price to the product's price in the Composer |
| The configured total is below what the cart would collect | The options chosen there charge less than the products they add. Raise their prices by at least the amount the message names |
Why Publishing Was Refused lists every refusal and its fix.
7. Place a real test order
Buy the configured product yourself before you tell anyone about it. If the product is still a draft in Shopify, set it to Active, or to Unlisted, first: a cart does not take a draft. Check the price you paid matches what the configurator showed, and that your choices appear on the order.
Going live covers what else to test, and the review step to build into your routine.
What appears in your catalogue
Once you publish a priced option like this one with Product lines or Bundled parts, you will see new products in your Shopify catalogue with the vendor 3D Bits Fee. These are how a configured price becomes a real charge - see Helper products. They are hidden from your storefront, and you should not edit or delete them by hand.
Verified against the product in November 2026